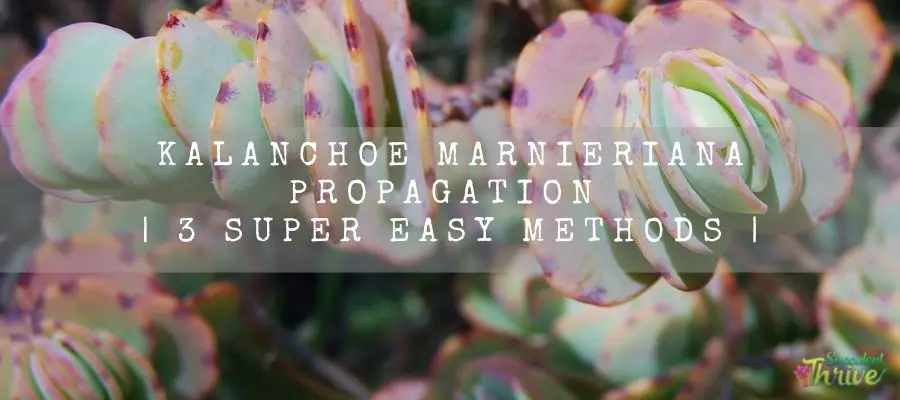
Kalanchoe marnieriana adds a distinguished look to your succulent garden. In fact, that would be one great addition to your succulent garden. In this article we are going to search for Kalanchoe marnieriana propagation methods.
More about the plant
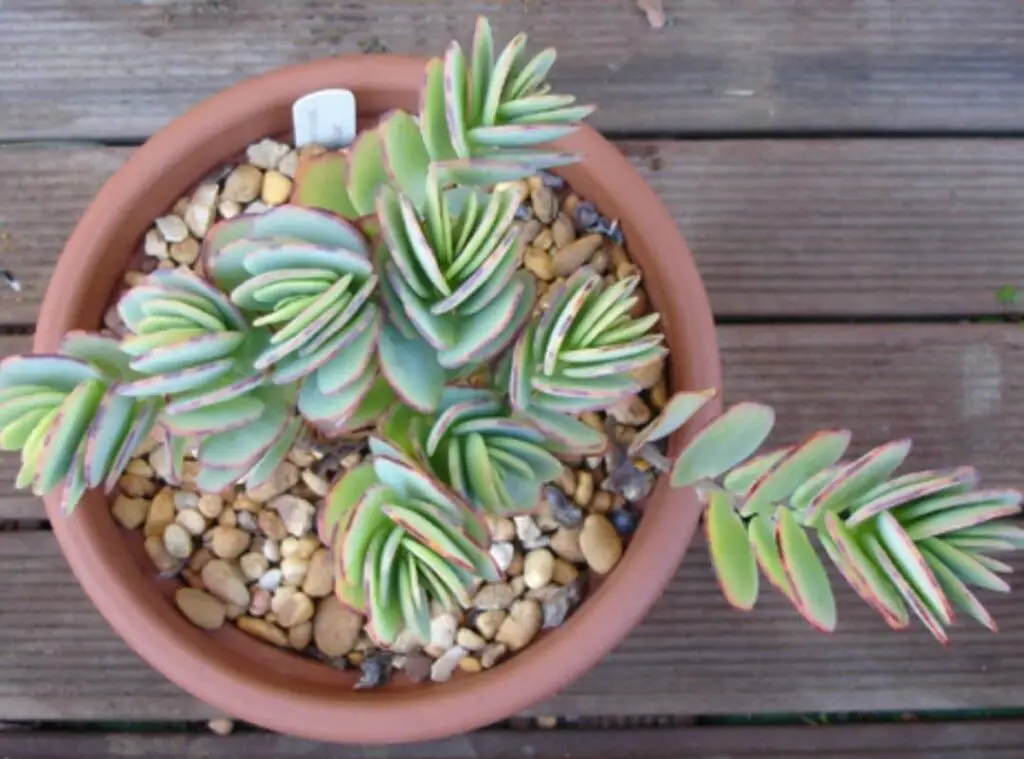
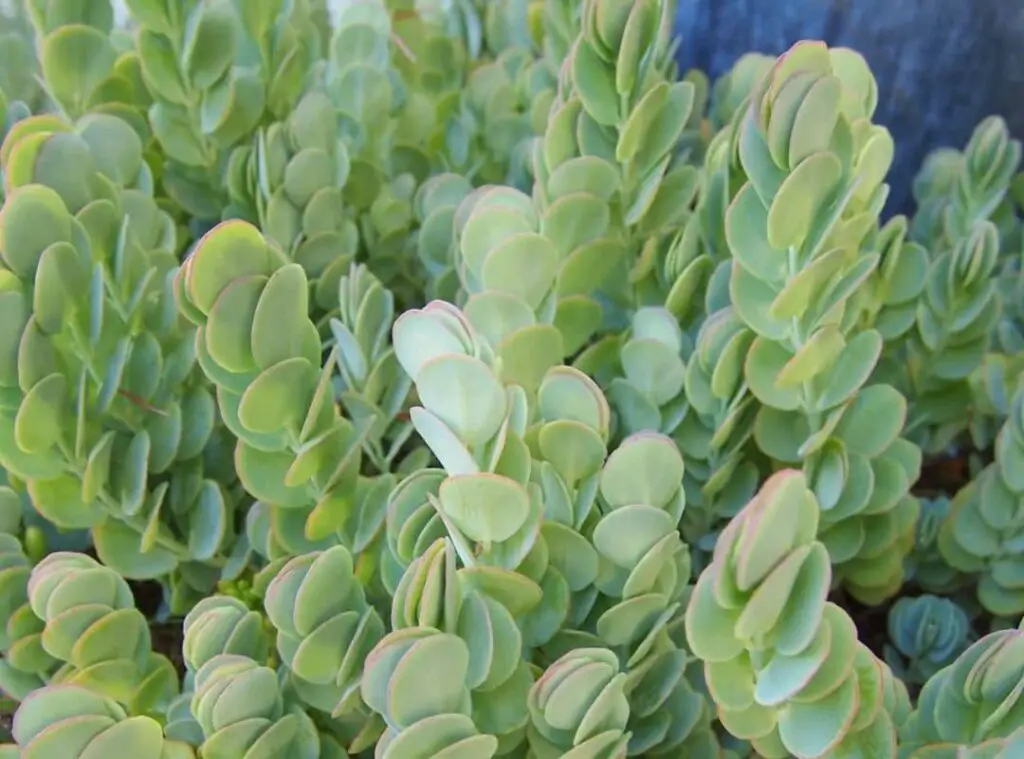
It is a fantastic looking succulent subshrub type which you could spot in blue green.
If I elaborate more on how the leaves are slender and round. They tend to grow in clusters on the stem.
Chances are that those leaves could get a pink touch on the tips of the leaves which would add more grace to the plant. You could spot them with pink tips once they are in stress.

Marnier’s kalanchoe is another name which you could use to call them.
When the Kalanchoe marnieriana grows to their fullest potential, you could see them growing up to 18″ (46 cm) in height. Further they would be 36″ (91 cm) in width too.
You could expect them to bloom in red and it would be a treat to watch them when they are in full blossom.
Kalanchoes could be toxic towards pets if they consume the plant. It is toxic to the level that even a minor part of the plant could make a harmful impact on the pets and could contribute to major health deteriorations.
You need to practice the regular care treatments when growing the kalanchoe marnieriana and given all the growing conditions they require, they will reward you with a good plant.
Three kalanchoe marnieriana propagation methods
There are few methods of propagating the kalanchoe marnieriana succulent such as leafy cutting method, stem cutting method and finally using the plantlet.
We will go through with the leaf cutting and with the stem cutting method later. Before proceeding with that, here is a brief on how to use plantlets for propagation.
Plantlet propagation
When you practice the leaf cutting and the stem cutting to propagate the kalanchoe marnieriana, you have to remove either a stem or a leaf from the mother plant. However, when you try the plantlet option, you have to just snip a plantlet from kalanchoe marnieriana plant leaves.
Kalanchoe marnieriana are generally best known as plants which produce plantlets which develop from the mother plant’s leaf tips.
Those plantlets tend to take miniature leaf shapes which usually develop side by side along the leaf tips.
When they grow like that, they mimic a decorative border. However, if you let those plantlets stay on the leaf, that would attribute the leaves to a change in their shape.
Moreover, what is more concerning is that they tend to use the conserved energy of the plant. Which is supposed to be used for flower blossoming.
To do plantlet propagation, you only have to obtain a plantlet off the leaf which is connected to the plant.
After that you need to let it become callous. Next you may plant them in a pot.
You could obtain the plantlet from the mother plant without any issues as it will not cause any damage to the plant simply because the plantlet grows on a small extent.
As time passes by, you could see how a new kalanchoe marnieriana plant is emerging from those plantlets.
However, make sure that you keep doing the proper care treatment for them.
Leaf propagation
It is a very simple process to follow when you propagate the kalanchoe marnieriana through their leaf cuttings and it is less time consuming too.
In addition to that, you can rely on the results of the leaf propagation methods too.
Step 01
To start this off, first you need to choose a leaf which is healthy enough. In other words, you need to ascertain that you have selected a leaf which is disease free.
After you select the leaves from the mother plant, you could just take them off while twisting. Alternatively, you could use a sharp knife or even a scissor for this purpose.
However, you need to make sure that you are using all clean equipment.
Step 02
When you remove the leaf, ensure that you obtain the whole leaf without leaving any leftovers of the leaf on the stem.
After that, you could leave those cuttings to become callous for a couple of days. When you do this, make sure that you keep them in a dry and a heated place and allow them to become callous.
Next you could go ahead with planting them in the soil mix. It is important to note that you should not leave the cuttings for more than a couple of days.
If you leave them in those conditions for too long, that will contribute to the entire removal of the moisture in the cuttings.
Consequently, you will end up having disappointing results of the propagation as it will not be successful.
Step 03
Once you are ready with the cuttings, you need to ascertain that you grow them in a well-draining soil mix.
Further you could add more coarse sand into the potting mix too. You could simply stick those cuttings in the moist soil mix.
After that add more soil around the plant and make sure it is well established in the new home.
Step 04
A light misting is encouraged for about 4 or 5 times a day at the initial stage after propagating them.
Moreover, you need to water the soil so that you can keep the soil mix moist. Bear in mind that you need to place the pots or the containers near a bright sunny window so that they will not run off adequate sunlight.
I would recommend not to expose them to direct sunlight as it could affect them badly.
When you choose the right soil mix to grow the kalanchoe marnieriana plants, it should ideally be a desert type soil mix so that you could have guaranteed results of the propagation.
You could proceed with a simple soil mix which comprises perlite and peat moss. Those substances should be in even amounts of the soil mix.
Once you grow them in this sandy soil mix along with peat which is enriched with the essential nutrients, it would cause the plant to have a better air circulation.
Not only that but also, it will affect the plant having a fast drainage which would be beneficial for the plant’s optimal growth.
You could use a 4-inch pot for one leaf or combination cutting. Further you could add a heating pad which would add bottom heat and that will help the cuttings to develop firmly.
Stem propagation
You could use stem cuttings also to propagate the kalanchoe marnieriana plants. If you practice the correct method, chances are that those cuttings will form roots and will end up producing a new plant.
Whilst the roots are establishing, the cuttings will thrive on the nutrients they get from the succulent leaves.
When you practice the stem cutting to propagate the kalanchoe marnieriana plants, you could expect them to form roots within 15-20 days. This is a reliable way of propagating, and the results are guaranteed too.
Step 01
First, you need to obtain the cutting from the mother plant. Spring and Summer are regarded as the best time to conduct propagation of the kalanchoe marnieriana plants.
The reason for that is because they will not contain any flowers nor will they form any new growth too. During this period, what they mostly do is, they conserve energy for the upcoming season’s bloom.
As such you could supply some energy for the new growth through propagating them.
Moreover, bear in mind to obtain a stem cutting which is healthy and mature too. However, it should not be flowering though.
In addition to that, make sure that the stem is a few inches long and it should have at least a couple of leaves. You could cut them slightly above the leaf or stem node.
To do that, you could use a knife or even clippers. However, make sure they are clean and sterilized too.
Further, as you know kalanchoes in general are vulnerable for etiolation. As such you could propagate them to pinch back the stretched stems. That will help to take off the unnecessary stem parts of the plant and would be useful for the propagation process too.
You only have to clip off the stem at the bottom where you could spot the stretching look that has formed. You could obtain the cutting from there for the propagation.
Further you need to take off the lower leaves and trim the bottom parts if necessary. Moreover, the mother plant could also grow despite you trimming their stem.
Step 02
You need to let the stem cuttings dry as the next step. You need to leave those stem cuttings until they become callous for a couple of days.
When they become callous, it will avoid the plant getting root decaying and from other diseases as well. You should ideally wait for a couple of days until they become callous.
However, that could vary based on the thickness of the stems. If you wish you could dip the cut edge in a rooting hormone powder which could stimulate the root forming.
That will help to form healthy roots as well. However, you should only do this once those cuttings are callused only.
Step 03
Third step would be planting them. Just like the rest of the succulents, it is important that you provide a well-draining soil mix for the kalanchoe marnieriana plants to perform well too.
Avoid leaving them stranded in waterlogged soggy and damp soil conditions. If you do so, that would contribute to root decay.
Moreover, you could purchase a succulent mix, or a cactus mix and let the kalanchoe marnieriana plants grow in them. If at all, you could make one on your own too.
You simply have to add peat moss and sand at a ratio of 2:1 into the soil mix. Alternatively, you could use coconut coir and perlite too.
You could adjust the ratio and it will help to keep the soil most and not in soggy and damp conditions.
Furthermore, you could plant a few kalanchoe plants even in one pot, if the pot is larger in size. On the other hand, do not forget that though they look tiny, they would want more space as they grow.
Next you could fill the pot along with moist soil.
You need to poke each cutting into the soil and pat down. That will help the stems to stay upright. If your area has a high humidity level, that would be beneficial for the cutting rooting.
Further if you wish, you could create more moisture by simply covering the pot. You could use a clear plastic bag for this purpose.
When you do this keep in mind to make a few holes or even slits in the bag to better the air circulation. Once the cuttings are growing to their best, you could take off the bag.
Step 04
Last step would be growing them. You simply need to locate the cutting in bright indirect sunlight. Best would be locating them near a bright sunny window.
Refrain in exposing these plants under direct sunlight as those leaves are vulnerable to get sunburns. As such make sure that the temperature should always be above 50 degrees Fahrenheit.
You need to always keep the moist condition in the soil whilst watering them lightly by using a spray bottle.
Furthermore, you need to water these plants only when their soil is dry. Once you spot, they have formed new leaf and stem growth, you need to continue the regular care treatments for them.
Is root propagation possible for kalanchoe marnieriana?
Yes it is possible to root them in water.
How to care after propagation
Place them somewhere where they get bright indirect sunlight adequately. In case if you fail to provide adequate sunlight, it will cause the plant to go through erosion.
They could thrive well in room temperatures. However, in case the temperature increases and if you have grown them outdoors, bring them indoors.
Water them thoroughly and always check whether the soil is dry before you water them. Avoid over watering them.
You could feed them in spring and in summer. Use a balanced fertilizer and that would be beneficial for the wellbeing of the plant.
Read Next: Aloe vera Seed Propagation | 6 Step super easy Guide |
Read Next: Pencil Cactus Propagation Guide | 4 Effective Way To Propagate