You can conduct Echeveria setosa propagation by using offsets, leaves or stem cuttings
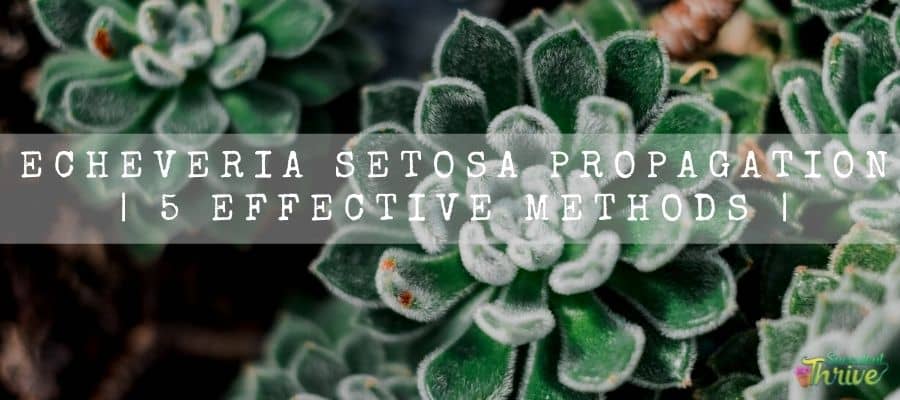
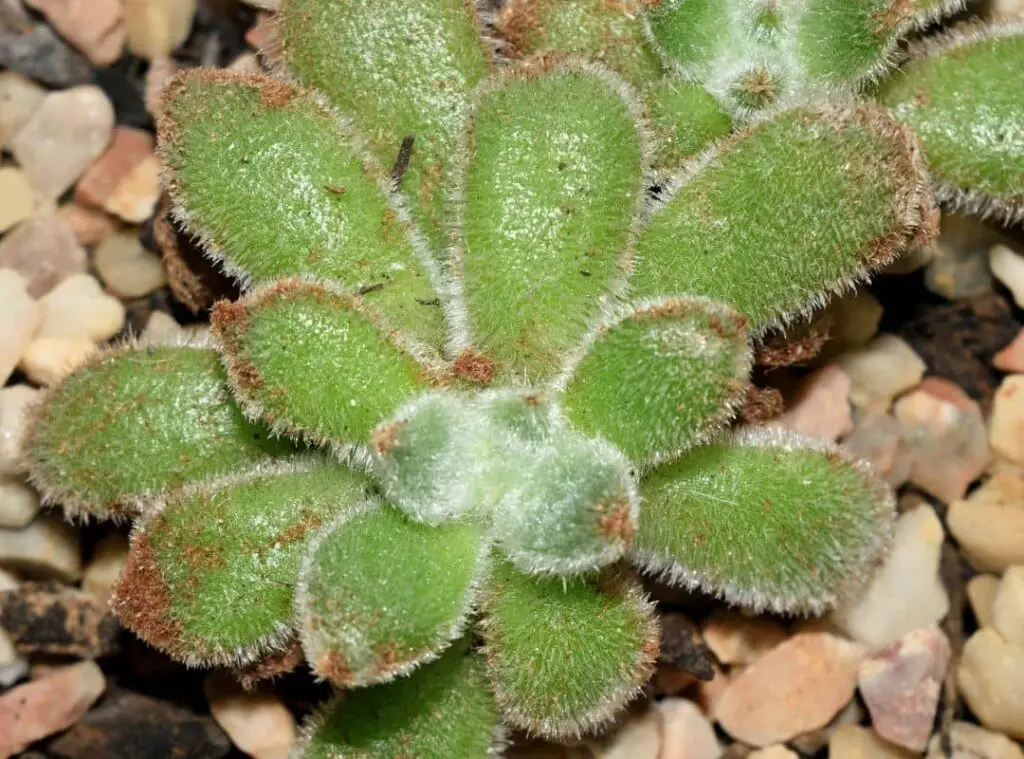
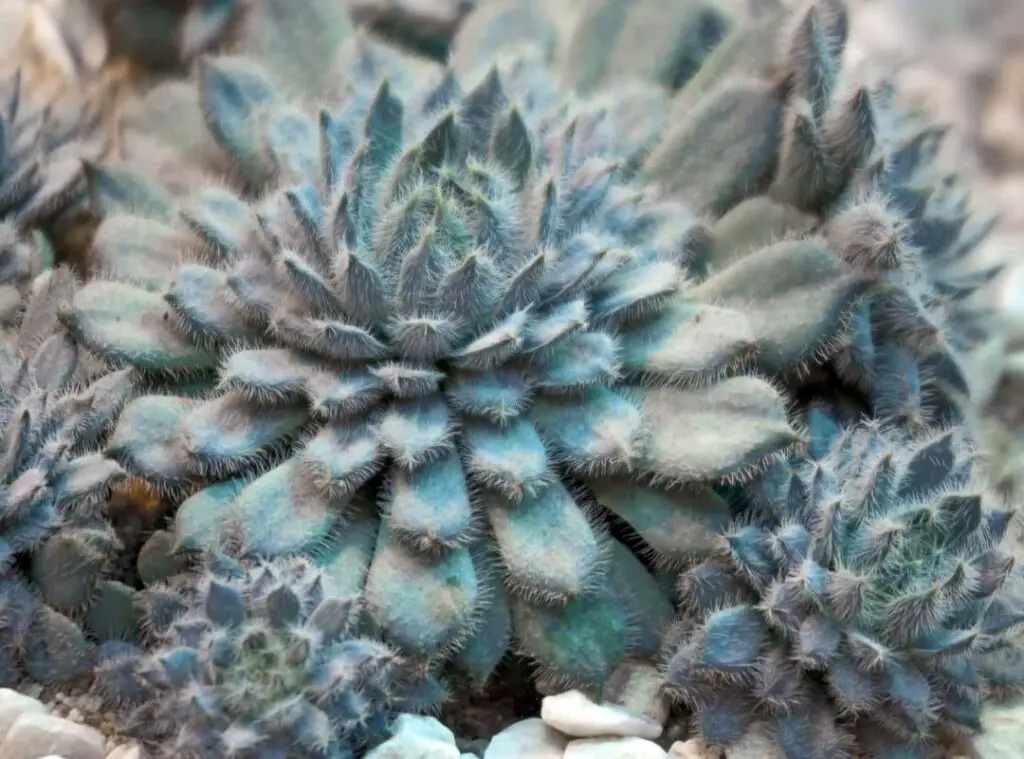
Echeveria setosa plants are commonly called Mexican Firecrackers. They belong to the family Crassulaceae. Echeveria setosa form their green leaves in thick clusters.
Further their leaves consist of white hairs. They would grow up to a maximum height of 3 inches.
Echeveria setosa plants would be about 12 inches wide when they grow to their fullest. When they mature, they will form offsets.
You could expect Echeveria setosa plants to produce flowers in red and yellow during spring. Echeveria setosa plants are native plants to semi desert areas in Mexico.
This article is about how you should propagate them and the after-care tips you need to practice after propagating them.

Echeveria setosa propagation by stem Cuttings
If you wish to propagate them by stem cuttings, you need to first select a short stem and cut it using a sterilized blade.
Ensure that you are using a sterilized blade for this as unless it will lead to infections. Once you remove them, keep them in a warmer dry place where they can develop callousness.
Next place those in a substrate which has an excellent drainage and a good aeration. They will start to produce roots within two to three weeks. During this time, expose them for indirect sunlight and water them lightly.
Echeveria setosa propagation by leaf Cuttings
First you need to choose healthy leaves for this process. That will ensure you have a better success of the propagation process.
Ideally you need to look for leaves which look plump and fresh. Refrain from using dehydrated wrinkled leaves. Further avoid using discolored leaves which comprise of spots or marks as well.
Besides, never use leaves which are damaged , ripped or misshaped also. When you remove them , you need to gently remove them from the stem.
Secondly, when you remove the leaves from the stems, you can gently remove them from there using your thumb and forefinger.
Chances are that some leaves may come off easily whilst for some it would be difficult to take them off. However, to take them off, you should wiggle the leaf back gently to remove it.
When you remove the leaf, ensure you are removing the whole leaf. If you use a damaged leaf, there will be less chance of having successful results of the propagation.
Further I recommend using more than one leaf for the propagation, as it is very unlikely that you will have 100 % success with just one leaf.
Hence you can use several healthy leaves and allow them to wither. You could allow the cut wounds to dry for a few days so that they can develop callous.
However, do not expose them for direct sunlight during this process. The leaves should be dry and should carry callous so that it will not lead to rot.
Next add soil and make sure the leaves are well established there. You can do this step only if you wish to do so. Having said that, if you do so, it will stimulate the rooting process.
You can simply lay the leaves in bed which you have filled with potting soil instead of planting them in containers also.
When you place them ensure that you are keeping sufficient space among the leaves so that they will have enough room to produce the new plants.
Next, when placing the specimen , keep in mind that you should never leave them exposed for direct sunlight.
Best is to locate them in a spot where they will be exposed to indirect sunlight. The exposure for direct sunlight will make the leaves shriveled. Further it will scorch the specimen also.
After that you can consider misting the leaves with a spray bottle. You can do it every few days.
Furthermore, if you live in a dry climate, you can do it daily. On the other hand , if you live in a humid climate, you can mist them every few days.
You could spot them forming roots within four weeks’ time. You will see how they start to develop the pink roots from the cuttings.
However, you could spot that if you had laid the leaves on the soil. In case, if you had buried them in the soil, you would have to pull them off and only then you can spot the roots.
If you spot the exposed roots drying out, you can consider placing a soil layer on top of the roots. Further keep misting them to avoid drying out.
When the new plant starts to grow, the leaf you started to grow will start to wither and perish.
You can simply remove the dried leaf off from the pot or let it fall off on its own. However, when you remove the parent leaf you used, ensure that you are not damaging the young roots.
Next, you can repot the baby plants when they start to grow and when the mother leaf perishes. When repotting , ensure that you are using the right soil mix which is explained below.
Avoid exposing them for direct sunlight as the new plants are still delicate and they cannot withstand the full sunlight.
Further, you need to water the succulent cuttings more than the mature plants.Once they establish, you may treat them as ordinary plants.

Do they produce seeds?
They hold the seeds in the seed’s pods in the flowers. When the flowers are dry, you can take the seeds out of them. Next you may use those seeds for the propagation process.
Do they produce offsets?
Echeveria setosa plants produce offsets and they will arise on the short stem. If you wish to use them for propagation, you can first remove them while using a sharp and a sterile knife.
Just like the cuttings propagation method, you need to let those wither first and then replant them in a well-draining soil mix.
Can you root the Echeveria setosa in water?
Water propagation of Echeveria setosa plants could be done using the cuttings. Next remove the leaves from the stem and allow them to dry.
Water propagation method is less messy when you compare this with the soil propagation method. First arrange a container filled with water. After that, cover it with a plastic layer.
Next, you may place the leaf cuttings in the wrap in water whilst ensuring they are slightly above the water surface.
Further,optionally you can dip the cuttings in a rooting hormone too.. That will fasten up the rooting process. If you are an impatient gardener, you could consider doing this step.
However, ensure that you are taking the plants off from water at the right time and repot as unless they will not be able to thrive in the soil once you start growing them in the soil.
How to treat after propagation
Sunlight requirement
Echeveria setosa plants have a strong requirement when it comes to sunlight. It is important that you fulfill this requirement as only then it will enable them to thrive well.
Ideally, the plants need to have four to six hours of bright morning sunlight. Hence, I recommend placing them outdoors during summer.
If your Echeveria setosa plants do not get sufficient sunlight, it will make them become etiolated and leggy.
Literally the lack of sunlight would make them bend towards the best possible lighting source they can reach.
Consequently , they would become leggy and etiolated. Further , if they run out of sunlight , chances are that they would not produce flowers also.
Hence if you have grown them indoors you need to choose the bright sunny windowsill to place them. Further ensure that you rotate the plant occasionally so that the whole plant will get sunlight evenly.
Water requirement
Echeveria setosa plants have a minimal demand when it comes to watering. Echeveria setosa plants have water conserved in their body.
As such you need to water them only if their soil is dry only . Further make sure that there is no excess moisture remaining in the pot too..
Moreover, Echeveria setosa plants will wilt if you over water them. Besides, under watering would also make the plants wilt.
Additionally, they will start dropping the leaves and become wrinkled too. Having said that there will be less severe repercussions from under watering rather than what it makes from over watering.
Over watering can create fatal repercussions on the plants as it could even kill the plants. Never leave them in damp soil.
Further when you are watering them, ensure that you apply water right into the soil. Do not spill water on the rosettes as it will create fungal disease and root rot.
Enhance watering the plants during spring and summer as they will be their actively growing seasons.
Soil requirement
A well-draining porous substrate would be optimal for these plants’ vigorous growth. That will keep the excess moisture away from the plants.
Best is to utilize a cactus soil mix, or a succulent soil mix for them and you can easily acquire them from garden nurseries.
Further , be mindful to select a pot which has a draining hole also as only then the excess moisture can drain without remaining in the pot. Unless it would create root rot.

Temperature and humidity requirement
Hot and dry weather conditions would be optimal for these plants’ vigorous growth. Cold temperatures would be unhealthy for them.
Further if you locate them closer to cold drafts , it will also create drastic fluctuations in humidity and eventually it will lead to root rot.
Echeveria setosa plants can perform well in room humidity conditions which is about 40 % – 50 % humidity levels.
They can thrive well if they get a temperature around 65 degrees Fahrenheit – 80 degrees Fahrenheit ( 18-27 degrees Celsius).
During winter they need to have less temperature than these. When you grow them outdoors, a temperature range of 19 degrees Celsius or 20 degrees Celsius would be ideal during warmer summer periods.
Fertilizer requirement
Echeveria setosa plants are usually accustomed to grow in soil mixes which are not enriched with nutrients.
Hence if you overfeed them, it will create feed burns on them. Having said that, if you wish to stimulate the growth of the plants, you may go ahead with a cactus soil fertilizer or with a succulent fertilizer which has a low component of Nitrogen.
However, before you use them, ensure that you dilute it 3 to 4 times and then apply. Literally you need to apply a very small amount of fertilizer for them when they are actively growing in spring and in summer.
How do you root the Echeveria setosa cuttings?
You need to simply cut the leaf off from the mother plants carefully whilst using disinfected tools such as a knife or pair of scissors.
Next allow them to wither the cut wounds and then replant them in a well-draining soil mix. When their soil is dry, you can start watering them.
Conclusion
Echeveria setosa plants are versatile and attractive looking plants. Further their easy maintenance is one more interesting feature of them.
These characteristics make them perfect additions for anybody’s houseplant collection. Besides, as aforesaid, propagation of the Echeveria setosa plants is also simple and you can have successful results if you ensure that you adhere to the aforesaid instructions and to the aftercare tips.
Read Next :
Mistletoe Cactus Propagation | Effective Methods |
Orchid Cactus Propagation | 4 Effective Methods |
Ferocactus Pilosus Propagation ( The Only Method You Need )
